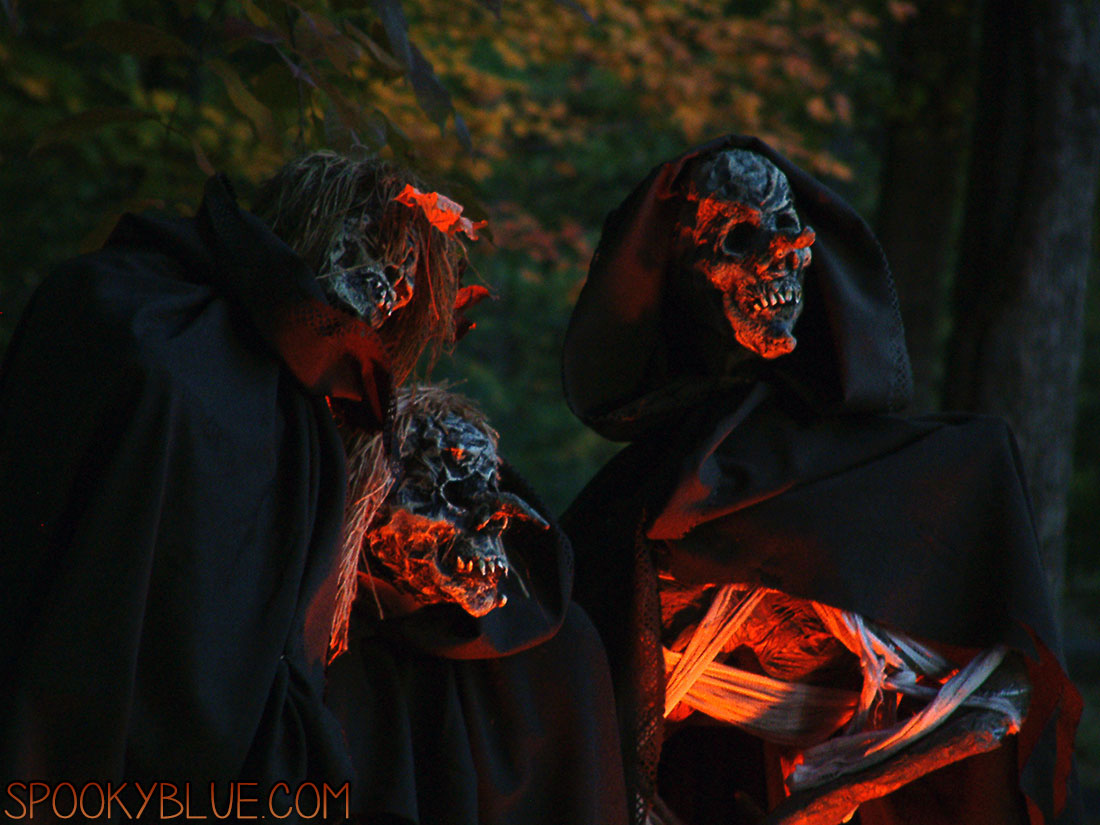
If there’s one question I get 20 times a day, this is two of them.
The simple answer is spar urethane. There. I just saved you a long read that covers way more thought and analysis than I ever intended upon starting this article. So, if you’re satisfied, then I’m satisfied. Otherwise …
Step one to the long-version of the answer is another question: How much protection do you really need? If your haunt is one-night-only and gets packed back into the garage by 10:00, then all you’re going to encounter is a little dew. In haunts where zombies and scarecrows spring up in September and are your drinking buddies on St. Patrick’s Day, the elements become more of a concern. The subtly different terms waterproof and weatherproof demand a little clarity.
Waterproof is defined as “impervious to water”, while weatherproof means “can withstand exposure to weather without damage”. This is essentially the difference between zombies melting in the rain and suffering acute sunburn. On the list of things that hate Halloween props and want to destroy them, sunlight is number three, preceded by dirty rotten vandals, with moisture at the top.
It’s inevitable that your graveyard dwellers will soak up a certain amount of sunlight. If this is limited to just a few days each October, it could be years before the results of accumulated UV radiation exposure become noticeable. For longer periods, what would it hurt to line them up for a Coppertone spritz every so often?
With sunspots out of the way (dirty rotten vandals are a topic for another day), we’re down to public enemy number one: Water.
In addition to the amount of exposure your props are going to encounter, choosing the best protection has a lot to do with the type of glue that you use. I’m not a fan of traditional flour-based paste recipes because a little moisture can quickly turn a zombie into a rancid biscuit. (From direct observation of an incident in which Spookyblue-co-founder-and-brother Joe was forced to chuck a malodorous biscuit skeleton over the fence along with 100 million fruit flies.) Even with the addition of salt, oils, and other mold mitigators, it must be completely and utterly sealed against moisture or it will turn bad and eventually fall apart. White glue is much more forgiving. It may soften when wet, but it remains adhesive, so it’s not a tragedy if some moisture seeps in.
Having covered the relevant provisos, choose the scenario that best fits you.
-
- “My paper mache monsters are only outside for a few hours on Halloween night.”
- You probably don’t need to bother, especially if you used white PVA (Elmer’s) in your paper mache glue recipe.
- Elmer’s glue, by itself, makes a poor sealer. However, it is resilient in that if your critter does absorb some moisture overnight, just set him in front of a fan for a couple of hours. He’ll be good as new.
- We put our Halloween props out about a week before Trick or Treat.
- Here is a gray area where we need to look at waterproof versus water-resistant. Any oil-based sealer will generally outperform its water-based counterpart, which bumps up the cost. Cheaper, water-based deck sealer does a fair job repelling moisture. A rain shower may cause some softening, but even dew can accumulate overnight and squishify a prop.
- If your props feel squishy in the morning, then they are absorbing moisture. They’ll dry out in the sun, and if this is all they’re subjected to for one week out of the year, there shouldn’t be any permanent damage. Repeated over a greater number of days, however, and this cycle will eventually take its toll.
- Our pumpkins and zombies are on duty for the whole month of October.
- Consider stepping up to an acrylic sealer like Polycrilic. It’s a touch more expensive, but does a decent job repelling moisture.
- Note that we’re still in the water repellant area, not “also good for fixing cracks in your submarine”. A heavy dew, or a rainstorm can still lead to mushiness. Incidentally, you may also notice some hazy, white discoloration from Polycrilc after a shower. It will disappear once it’s dry.
- I ain’t got time to bleed, so I ain’t got time to worry about this #&*%!
- If you think there’s ever a chance you’ll fall down a waterfall to evade a Predator, and maybe a zombie would make a great floatation device, then you’re going to want to try a spar urethane.
- Specifically formulated to block moisture, Spar urethane will not only waterproof paper mache, but also contains UV blockers that put it in the weatherproofing category.
Some other tips that can improve your prop’s chances of surviving the winds and rains of October:
-
- Steer clear of traditional water and flour mixtures. I use white PVA (Elmer’s) glue almost exclusively. It doesn’t totally give up the farm if it gets wet, and it’s not considered a delectable food source by most microorganisms.
- After your paper mache creation is finished, apply a coat of sealer before painting. If any internal surfaces will be exposed (a Jackolantern, for example), coat them as well.
- Any sharp corner or edge is a potential wick. Exposed edges, like the face cut into a pumpkin, will absorb lots of moisture and are difficult to seal. Cover these exposed edges with strip mache to reduce this threat.
- Outdoor acrylic paints are designed to withstand moisture as well as the hard stare of the sun. Latex paints are usually less expensive, but tend to allow in more moisture. I have far too many gallons of the latter to justify experimenting with the former, so I’m willing to expect less than perfect performance.
- After painting, apply a final coat (or more) of sealer. This will often lend a certain sheen to the surface, so if your witch/zombie/franken-critter is too shiny for your tastes, then rub on some talcum powder. Alternatively, a very light misting of flat black spray paint will knock down the shine and won’t need to be reapplied.
- Avoid situations where a paper mache prop comes into prolonged contact with the ground. Use some kind of base or stand. Giant Jackolanterns with an open bottom are especially vulnerable and look particularly pitiful after they’ve collapsed.
Category: Halloween
Tags: paper mache