How thick should a paper mache pumpkin be?
Alternate title: How many licks does it take
to get to the pumpkin roll center of a Grumble top?
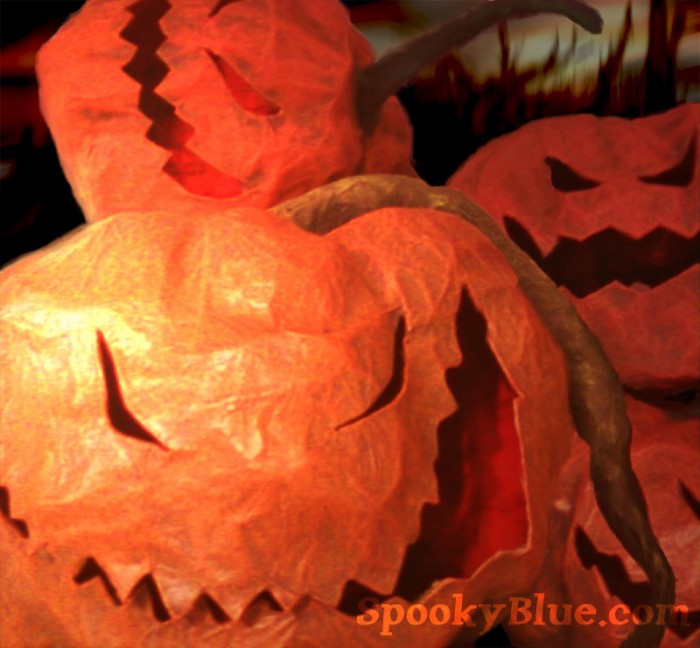 “Horde of pumpkins” by our friend Valerie
Minion TSchroder writes (to Grumble, by accident):
“Hey was wondering how many layers it takes to make a grumble pumpkin head. I tried your idea to use a plastic bag and fill it with paper. Hope it works really excited about how it is turning out.”
Dear tschroder,
Grumble say what mean, “how many layers make Grumble head”? Not know what talk about! Not do puny Spook Man mashy paper stuff!
…
Oops, Spook here. I’ll take this one.
Sorry, Grumble gets agitated when people ask him prop questions. He’s been on this “Dear Abby” kick, and wants questions like “Is my roommate an alien?” or “When is the best time to plant birdseed?” He’s really sensitive, in his own way, and I think he feels neglected because I get way more mail than he does.
Anyway, regarding your pumpkin question, lots.
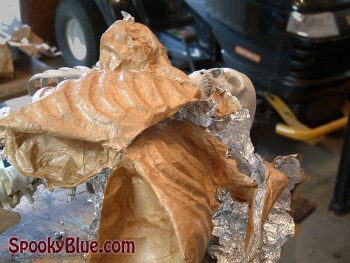
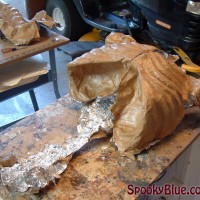
The more layers you use to build a Stolloween-style pumpkin, the better. You want it to be strong enough to survive the de-gizzarding process (when you cut a hole in the bottom and pull out the insides). If you choose clay for detail work, you’ll need a nice thick shell to hold up the extra weight. Paper clay, when you pile it on, can get heavy. But it’s great for building up all those neat pumpkiny ridges and things. And boils. Some of the best pumpkins have boils.
If you’re lucky enough to have some really thick material, like brown paper shopping bags, then you may only need two or three layers. For newspaper, recycled phone books, and other thinner material, you may want to add up to five layers. The type and thickness of your glue plays a part, too. Try a 3:1 mixture of Elmer’s glue and water. That is, three parts glue to one part water.
You can test your (fully dried) pumpkin head’s tensile strength by pressing down with your thumb in various spots. This will give you a measure of its “Yield strength”, or the amount of stress a material can withstand without becoming permanently deformed. If it gives too easily, or if you push through and accidentally pop yourself in the eye, then you might consider adding a few more layers.
This is a very subjective test, so a dent here or there doesn’t necessarily mean your pumpkin isn’t plenty strong overall. But if it worries you, then add an extra layer. Another trick used by some large-scale model builders is to “harden” the piece with a coat of glue. Just paint on the 3:1 Elmer’s mixture and let it dry. Repeat as many times as you like.
Thanks for writing, and have a great haunt!
Further reading
Grumble’s paper mache pumpkin head
Stolloween – Gourd guru and professional patriarch of paper mache

