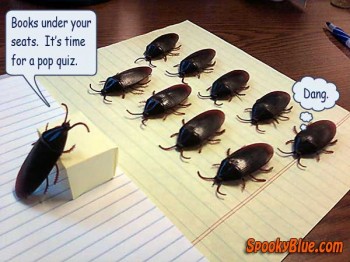
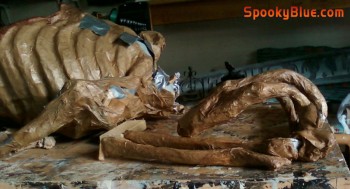
 This changes everything.
We’re mapping uncharted waters on a challenging new project that has taught your old pal Spook that to clear the bar, when raised high enough, sometimes requires a new pair of sneakers. In other words, never stop learning. Failure hurts, spectacular failure might need stitches.
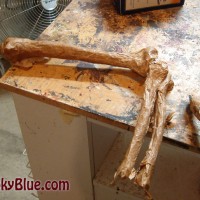
This mysterious project requires a corpse that is, among other things, altogether believable. Building to this level of realism meant that I had to evaluate, and ultimately toss out, some old methods. Rewrite the book, so to speak. Chapter One begins, “How to build a realistic paper mache skeleton”.
Now, I’d heard cat’s-paw rumors across the internets for years about folks who have made paper mache replicas of a bucky skeleton, but I never seriously considered attempting it myself. What a nightmare, I thought. There are too many details, I thought. I was wrong.
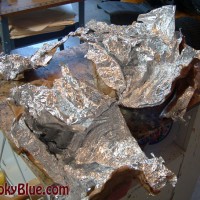
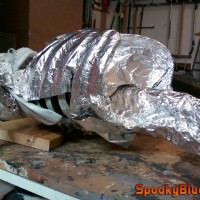 We needed a complete torso and one arm, but legs weren’t necessary, so I swiped Mrs. Spookyblue’s aluminum foil out of the pantry and got to work.
The trick to covering a skeleton in aluminum foil is to hit one area at a time and to work in layers until you can smooth the metal with a fair amount of force without poking through. Start with the front and wrap the foil as far back as you can reach without lifting the skeleton off the table.
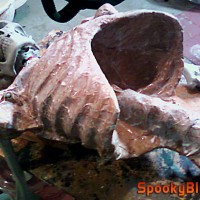
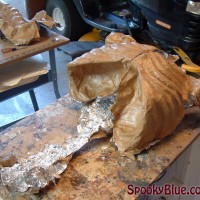
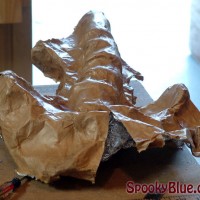
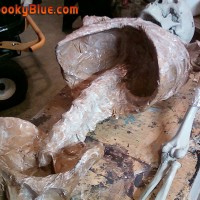 Apply torn paper strips, continuously smoothing as you work, and allow the first layer to dry before adding a second layer. When the second layer is dry, turn the skeleton over and repeat.
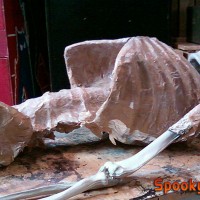
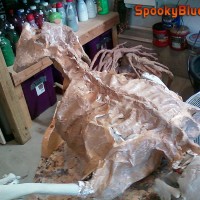 When foiling the back, overlap the dry paper mache with new foil by two or three inches. Add paper strips, but leave a small margin around the edges of the foil so that the new paper doesn’t come into contact with what you’ve already done.
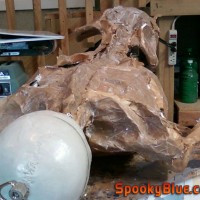
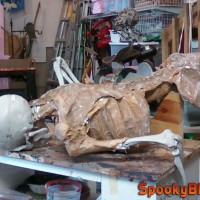 After the paper is completely dry, carefully peel off the back and set it aside. It should remove fairly easily. The front is another story.
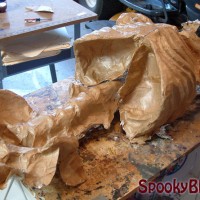
The rib cage is one big undercut, which means you’ll have to slice it up with a razor blade to de-mold it. I cut mine right down the middle, across the sternum, and along the spine. I also had to cut a few odd bits around the shoulders, but it eventually pulled away. Remove as much of the foil as you can, then duck tape the pieces back together. Add another paper layer to hide the seams, and you end up with a very detailed, anatomically correct skeleton. No more rolling newspaper bones.
Okay, technically it’s not a skeleton if there is skin between the bones, but if you got this far, then you can figure that part out on your own. Our ghoul needed some putrid, disgusting skin on his bones. Besides, it’s a good excuse to break out your Dremel.
Paper Mache Skeleton V2.0 – Part 2
Related material that covers a zillion or so glossed-over details:
Groundbreaker Corpses
Witches
Crow – Ver. 1.0 skeleton – On a stick
And so on
Category: Halloween
Tags: paper mache, paper mache skeleton
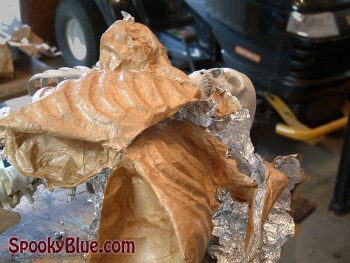 If you have a natural talent for origami, or if you’ve ever solved a Rubik’s Cube, then de-molding a paper mache skeleton will be a slam dunk.
