Bob |
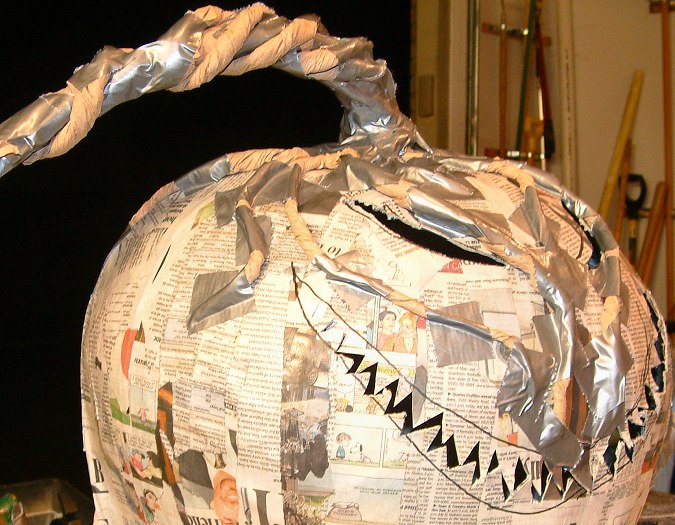
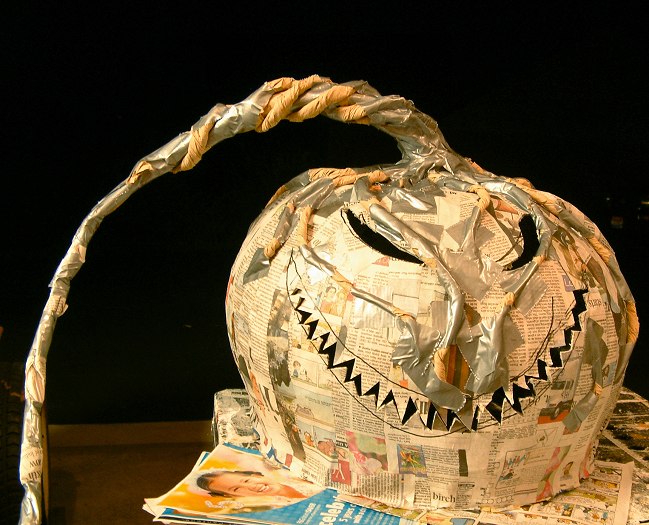
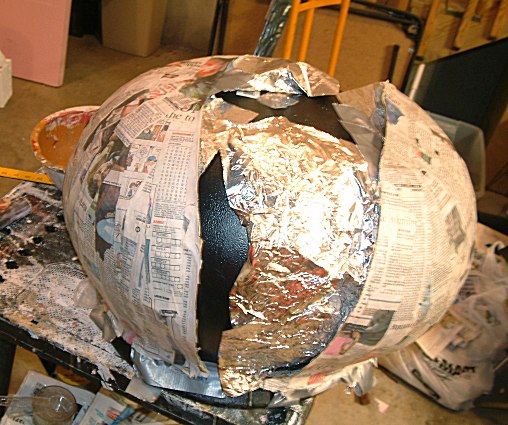
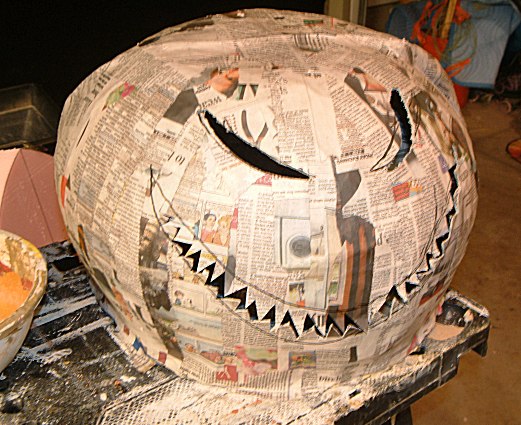
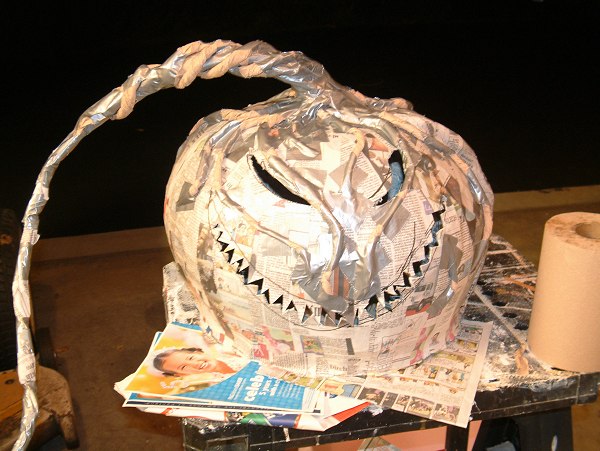
Peel away the two sides, tape them together with duct tape, then weld it all into one shape with more newspaper strips inside and out. Cut out some evil eyes and a cruel mouth, then add a stalk made from rolled up and duct-taped newspaper rolls. Duct tape to the top and interior of your pumpkin, then add other newspaper & duct tape features to help blend the stalk into the top of his "head". Cement in place with lots of paper mache strips inside and out. He sort of looks like a shark in a pumpkiny kind of way |
|
    |
|
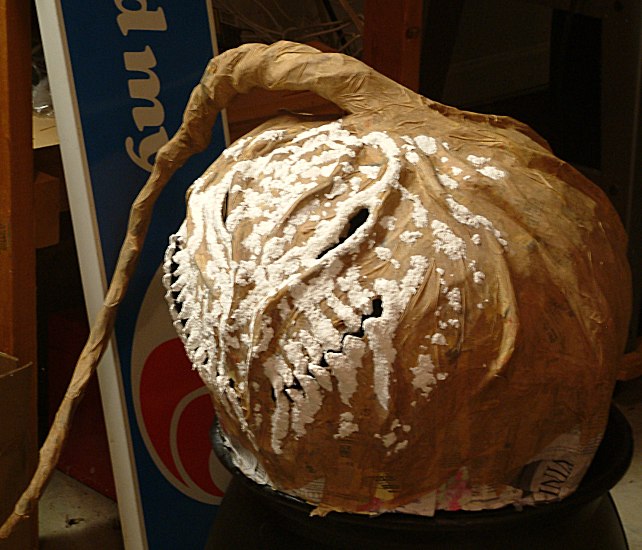
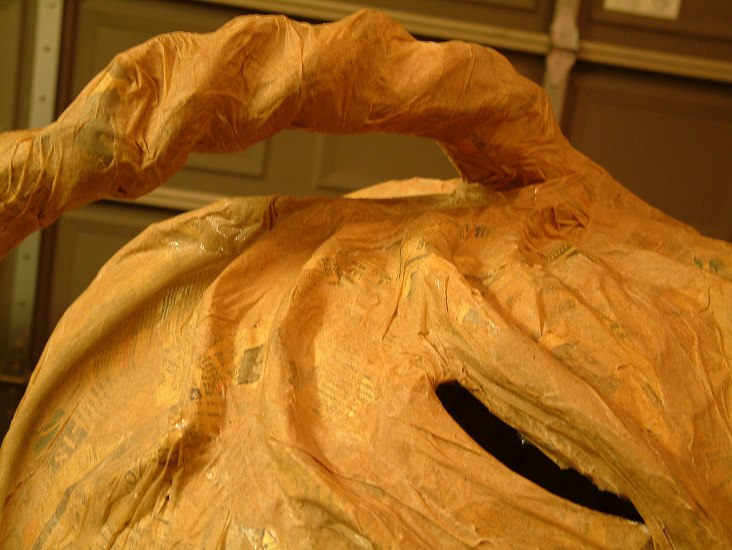
More paper towel ropes taped all over are a quick way to add pumpkin ridges. After adding my skin layer of paper towel, I noticed that Bob really could have used a few more ridges. But by this time we were getting too close to opening night, so I just kept going. |
|
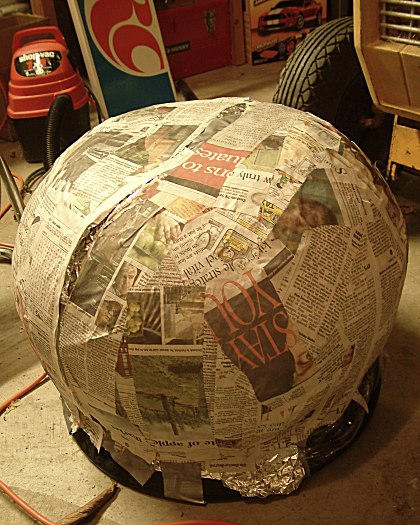
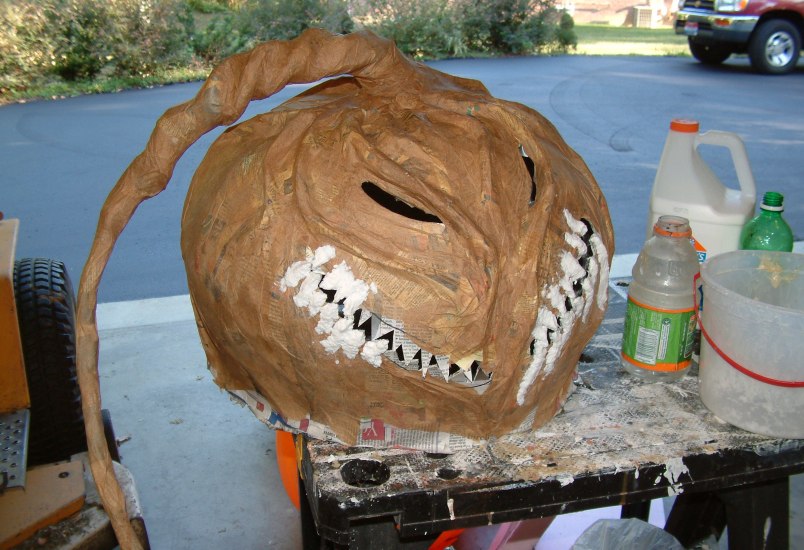
Brown paper towel on a roll makes excellent corpsing material and outstanding pumpkin skin. You can smooth it down or wrinkle it up nicely, it's strong, and if you're pressed for time you might not even feel the need to paint it. You can get rolls of this stuff at any cleaning supply store. You might even find it at your local home improvement center. |
 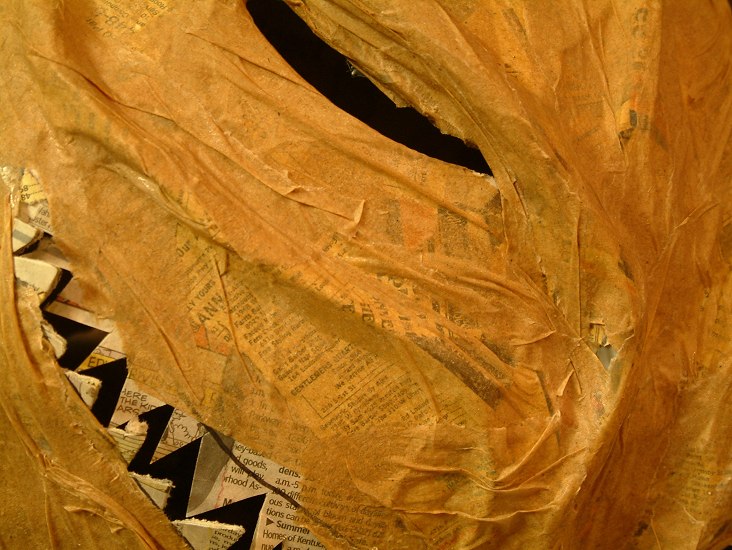  |
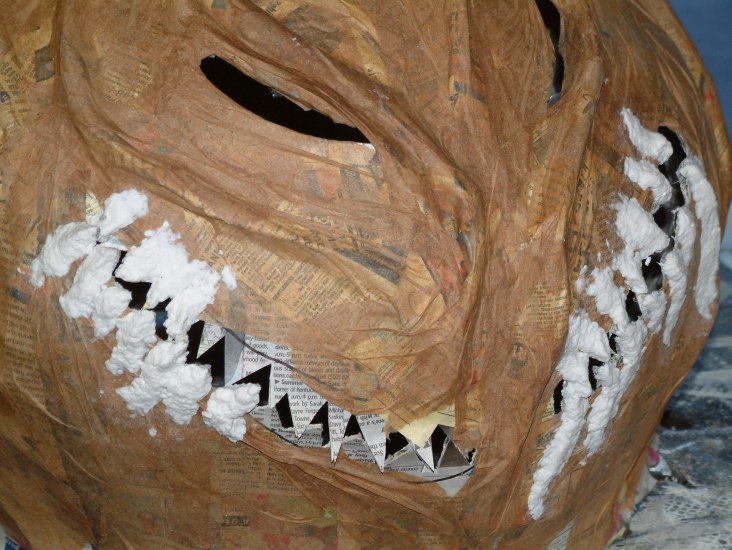
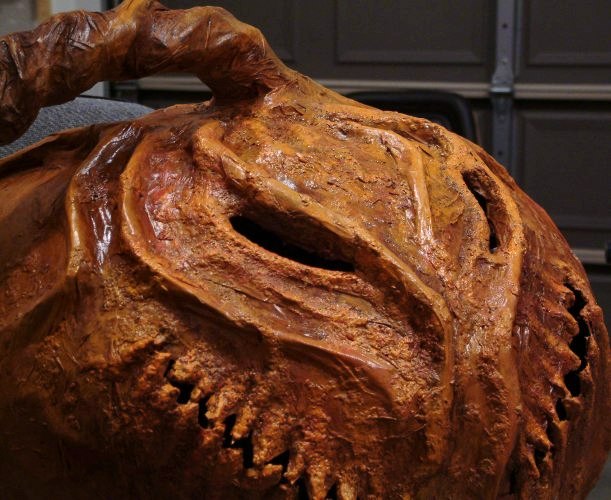
No, wait. This is Bob getting some paper mache pulp teeth. There wasn't really anything wrong with him the way he was, but the paper mache pulp adds a little more depth. Bulging teeth are just the beginning. He got warts, mold, um...scurvy, all kinds of stuff. |
|
Use a sponge or medium-size brush to apply color, then dab with a paper towel to blend. Browns are a great place to start. Then blend in lots of orange and finally yellow. If you want your pumpkin to be a little brighter, that's fine. Just mix your paints until you get the color you want. Want to see more pictures? |
|