
Crow's original design sketches, much over-scribbled, dog-eared, dog-chewed, and now missing (presumed digested and become a miniscule bit of mulch out in "Collie Meadows"), are still seared into my brain.
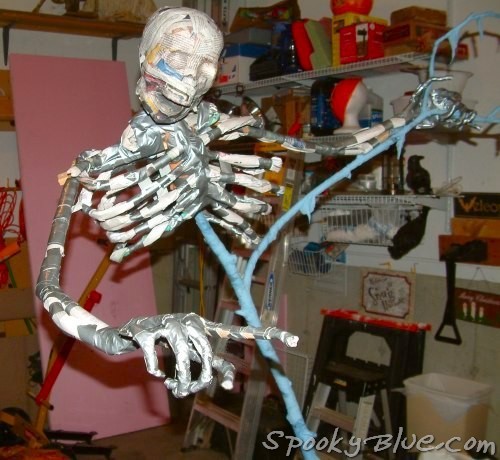
Those sketches clearly depict a skeleton glaring menacingly down the length of his fully outstretched right arm like Donald Sutherland in the final scene from Invasion of the Body Snatchers. Veronica Cartwright's character, Nancy, reveals herself to Matthew who slowly turns around, and to her horror, lets loose that awful pod person screech.
Compare these photos and it becomes obvious that a certain compromise was reached. Since I was the only one with knowledge of this secret, why even mention it? I'll get to that. First, let's make some skeleton arms.
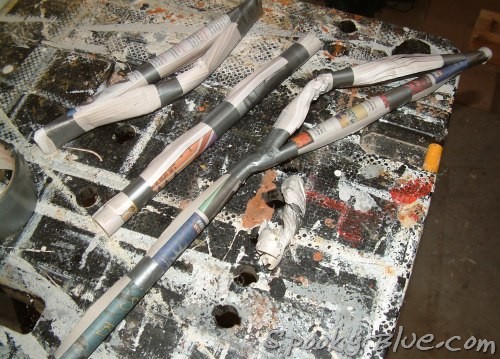
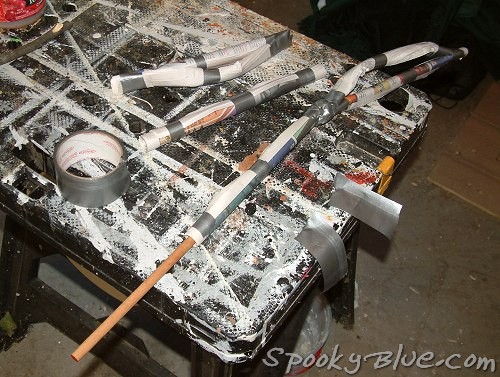
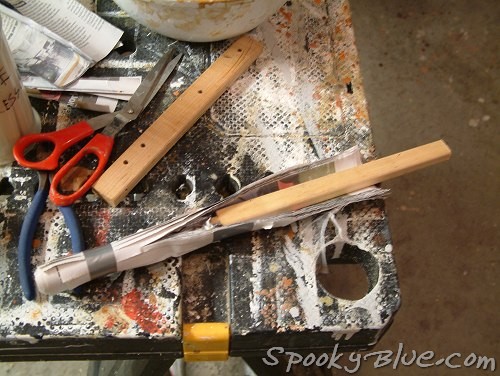
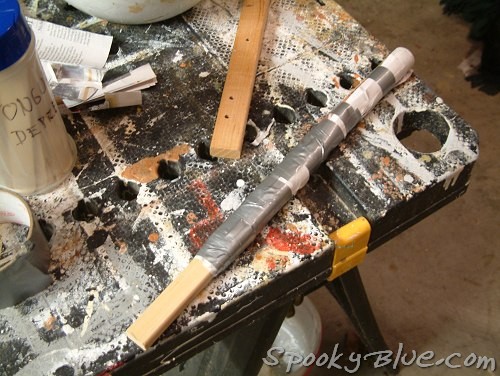
Skeleton arms are easy. Like paper zombie ribs, they're just rolled up newspaper and some duct tape. You can wrap the paper around a dowel rod for (substantial) added strength.
1) Humerus: This is the bone that connects to the shoulder. Tightly roll and tape four full sheets of newspaper. It's okay if the bone is a little long when measured against your own humerus. We'll need some of that length to attach it to the shoulder. You can always trim off extra length later.
2) Radius & ulna: These two bones make up the forearm. Tightly roll and tape three full sheets. Cut this in half, then tape the two pieces together at their ends, making sure that one is slightly (or grossly) bowed.
3) Determine whether the arm should be straight or bent at the elbow before taping them together. If you're not sure, then spend some time "dry fitting" to see how they look in different positions. When you're happy, duct tape everything together. Now you're ready for some creepy skeleton hands.
Sigh... Your old pal Spook gets into trouble sometimes when a project runs long and time gets short. That's when compromises crop up like dandelions. The dandelion in Crow's cap (or shoulder, as it turns out) is a missing "hard point" on which to mount his outstretched right arm. You can avoid my mistake by adding one to your skeleton, or just bypass it altogether. In either case, here's how ...
Simple Arms:
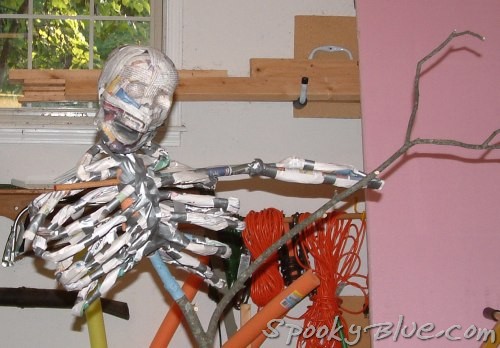
Fully assemble your arms, then lay them across the Brigand Tree branches. By using the tree itself for support, no further engineering is required. Subtle arm adjustments will give the impression that your beast is just hanging out, or hanging on for dear life. I'm sure I spent a couple of hours working this out, but then I also like for the TV remote on my desk to rest perfectly in parallel with the stack of papers beside it.
When you're satisfied, fasten the arms to the shoulders with duct tape. If you want to wait until he's got some hands to make the final fit, that's fine too. Just tack the arms on for now, then go make some hands.
Complex Arms:
Left arm
Crow's left humerus is wrapped around a dowel rod. If you've already made arms, you should still be able to insert a dowel.
The dowel extends about 8" beyond the paper bone and can be mounted to the back of the shoulder area or amongst the ribs. Your choice will depend on how you want the arm positioned, and the relative strength of the area you're mounting it to.
 Right arm
To pull off the "Donald Sutherland point", the right arm needs a solid shoulder connection. The humerus is wrapped around a 3/4"x2' piece of scrap wood. This will be attached to another piece of wood (the "hard point") inside the shoulder.
Dowels aren't recommended for this part because there's really no good way to fasten them together. Tape might stretch or tear, and screws would likely split the wood.
A nice flat surface likes to hug another nice flat surface when they're drawn together with a couple of small bolts and nuts.
 At one end of the shoulder board, drill two or three holes. Mounting bolts should slip freely into the holes. Hole size will depend on the size of the bolts you use.
Decide what angle (vector) you want the arm to point. This is also called an azimuth.
For a perfect fit, mark the drill points on the arm board:
- Lay the shoulder board over the arm board.
- Slip a nail through one of the holes in the shoulder board.
- Confirm that the angle is correct.
- Tap the nail to make an imprint on the arm board.
- Repeat using one of the other holes.
- Drill the holes in your arm (not the fleshy thing, but the wooden one).
I wasn't sure what the final angle would be, so I drilled a few extra holes in the shoulder board. I also didn't want the connection to be a pivot point, which is why I used two bolts instead of one.
 Mount the shoulder board
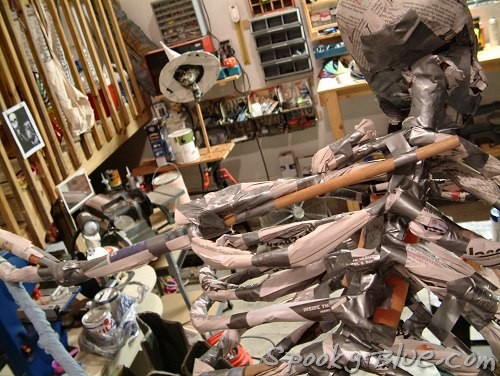
Here is where you will snatch the pebble, grasshoppa. I'm only posting this horrible picture to encourage you to come up with the correct solution. Picture Crow's arm bolted to this shoulder, lacking any other support, and then extrapolate. Engineers in the crowd will immediately think "torsion problem". Everyone else will think the same thing, but will use words less nerdy than "torsion".
The short version is this: The torque applied to the shoulder board by the weight of the outstretched arm is going to cause the shoulder to twist. And twist it did.
It was immediately apparent that no matter how much duct tape or cuss words I threw at it, this wasn't going to work. That shoulder board, in order to actually be the "hard point" I keep talking about (You keep using that word. I do not think it means what you think it means), has to be rigid. The only thing substantial enough to withstand the force being applied here is the tree itself.
So. To pull this off, do what I should have done was bolt the shoulder board to the tree. Any additional struts, supports, or concrete piers will be hidden inside the torso after the whole thing is skinned.

Just for reference...
Here's what the shoulder/arm connection looks like with the bolts holding everything in place.
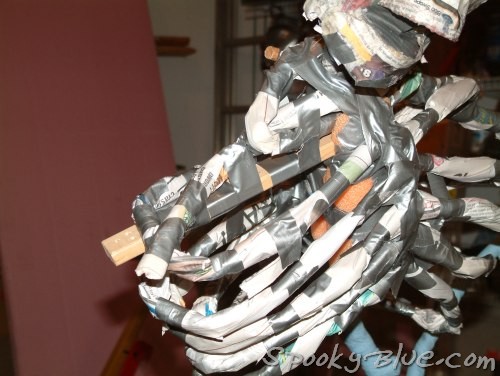
And here, too, is the finished arm, ready to be skinned. Confounded thing.