|
|
|
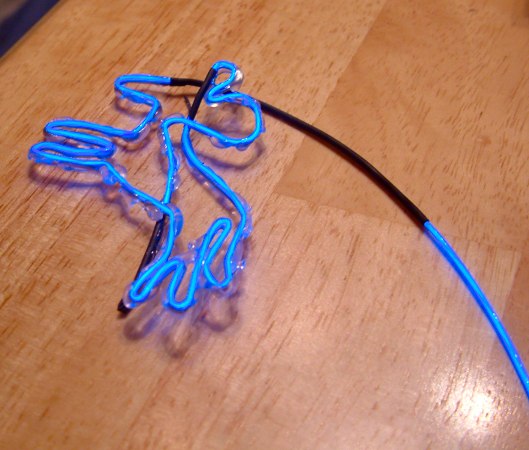
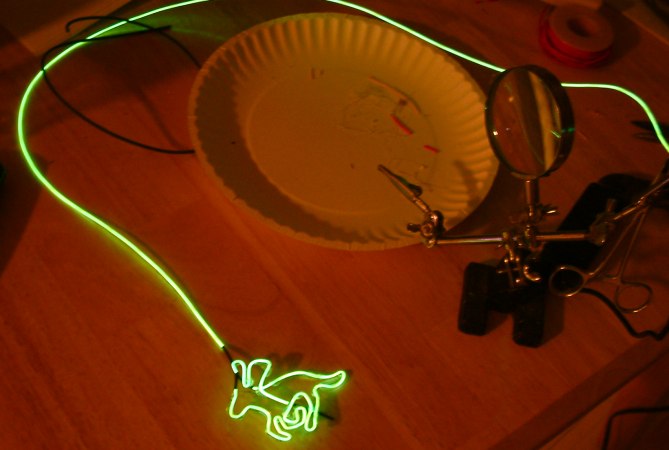
Attaching EL wire to the armatures
Electro luminescent wire comes in many different widths. At the time I made my purchase, Coolight.com offered wire widths of 1.2mm (Angel Hair), 2.3mm, and 3.2mm. The thicker wire is suitable for outdoor applications because of its brighter illumination. Thicker wire requires a heftier power supply and inverter.
I
opted for 1.2mm wire because our sign is intended for indoor use, and because I figured the smaller wire would be easier to shape and attach to the armatures.
I decided to use hot glue to hold the wire to the armatures. Depending on your application, this may not be the best solution, but it worked well for this project. It may be possible to use a fine thread to tie off the wire. If you're fond of making your own fishing lures, then this is an option for you. Glue seemed a quicker solution, and since EL wire doesn't produce any heat, there was no chance of the glue melting.
|
|
|
|
Warning!
When using hot glue, you are very likely to permanently and painfully alter your fingerprints if you're not careful. In other words, don't burn yourself. You will anyway, but at least I warned you.
|
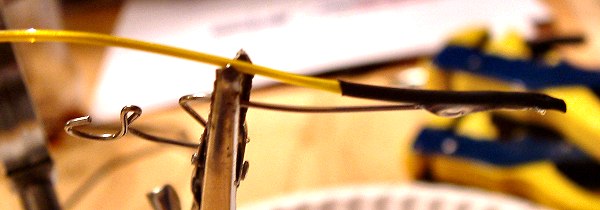
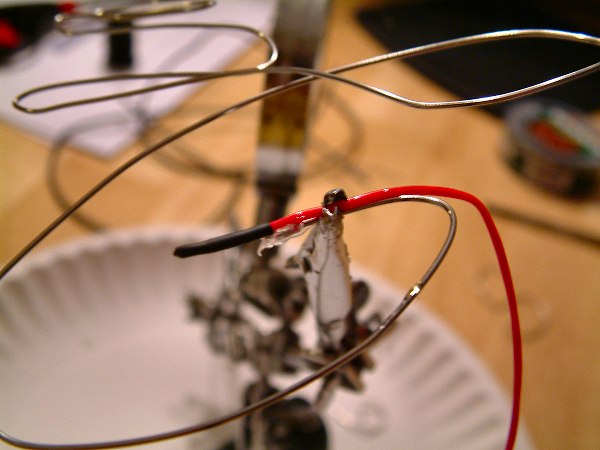
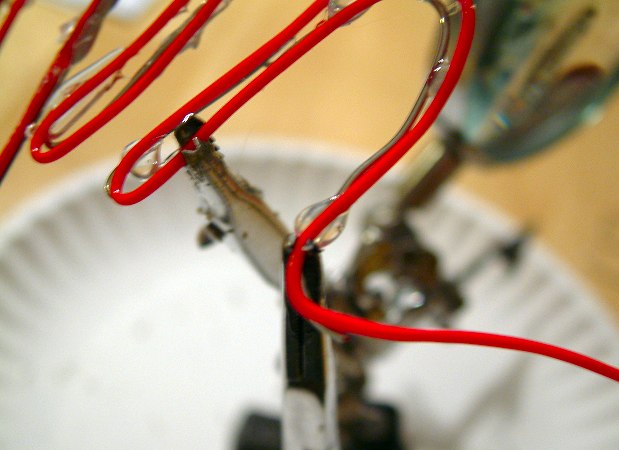
| One end of the wire has to go to the power supply, so you'll need to keep this in mind. Which end of the armature is best suited for the live end, and which for the terminated end? I started with the terminated end of our wire and anchored it to the "leg" of our jockey. Don't try to glue the whole thing, but instead make several "tack points". |
|
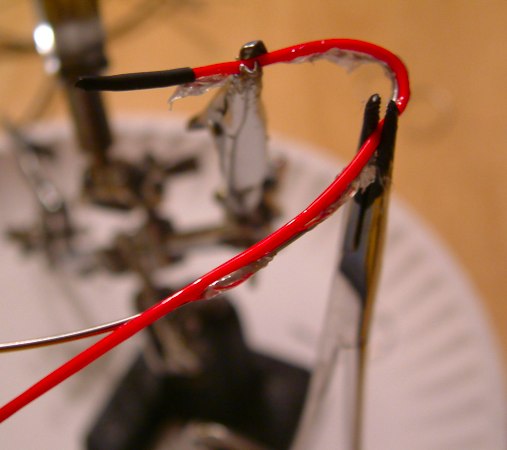
Anchor a section of wire and wait a few seconds for the glue to set. Clamp the wire with a pair of forceps to protect the newly glued section, and make your next bend. Remove the clamp, glue the newly bent section, wait for it to set, clamp it, then move on. Use only enough glue to hold the wire to the armature. It will become stronger as you add new "tack" points. Always protect the previous tack point with a clamp before making the next bend.
|
|
|
|
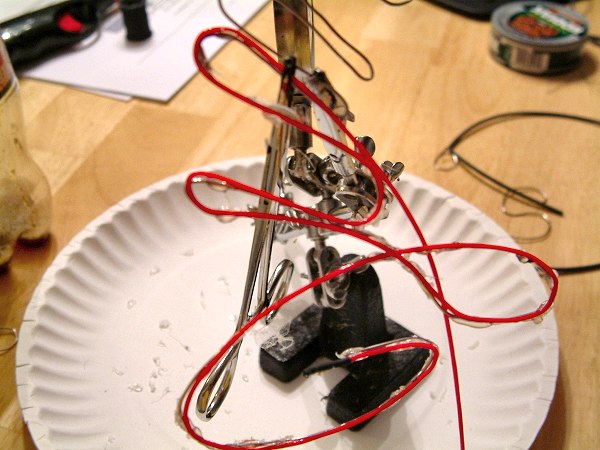
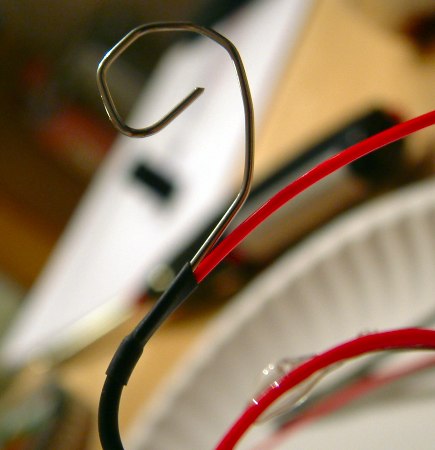
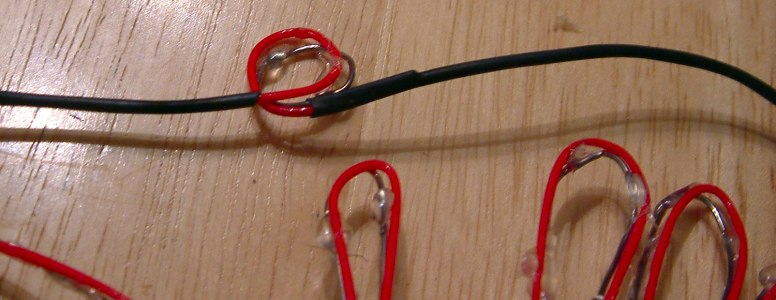
Insert a length of black heat shrink tubing anyplace where you want to mask a section of wire. This is how I separated the jockey's head from the horse's back. More examples of this in a minute.
Let's review the steps again ...
1) Make a tack point and wait for it to set up.
2) Clamp the wire to the armature to protect the tack point.
3) Make your next bend.
4) Remove the clamp.
5) Go back to step 1
|
 |
|
Lettering
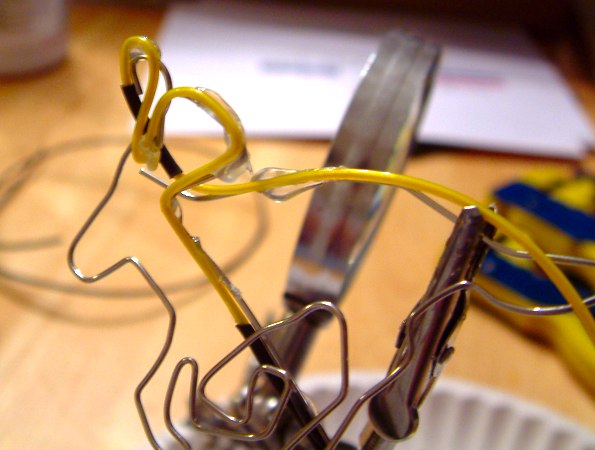
I chose a cursive script for the lettering because there would be fewer masks between sections. In fact, the only masks are between the "m" and the "s", then the apostrophe and the dot on the "i". The lettering proved to be much easier than the horses because it consisted of large curves instead of lots of tight bends.
Once again, decide which end to terminate and start with that end. I anchored the terminated end to the end of the "J" (in Jim), and followed the four steps. Tack, clamp, bend, remove the clamp, repeat. |
|
|
|
|
|
|
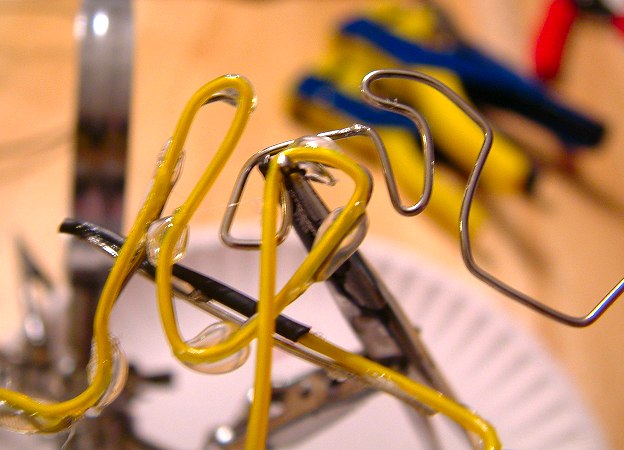
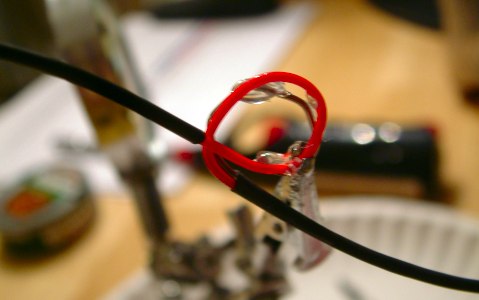
A mask is anyplace that you don't want your wire to glow. To make a mask, just insert a length of heat shrink tubing. We masked the space between the "Jim" armature and the "S" armature. Add extra strength to the anchor points by sliding the end of the heat shrink over the end of one of the armatures. Don't overheat the heat shrink. The plastic coating on the EL wire will melt. I'll say it again. Don't melt the EL wire plastic coating.
|
|
|
|
|
|
|
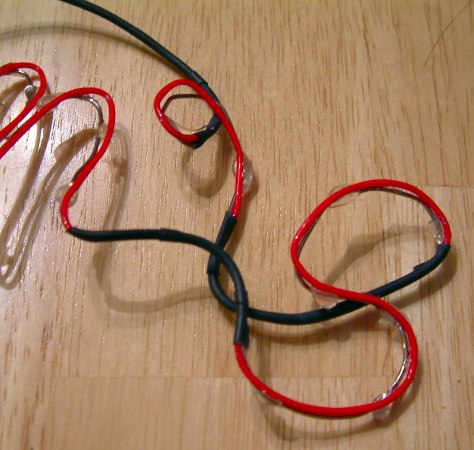
After securing the wire to the "S", I followed the "S" from bottom to top, then added another mask to separate the apostrophe. I then wired the apostrophe, and masked a length of wire back to the dot on the top of the "i".
I wired the dot, then added the final mask, making sure it was long enough to black out the wire all the way through the "rat hole".
Rat hole?
|
|
|
|
|