 |
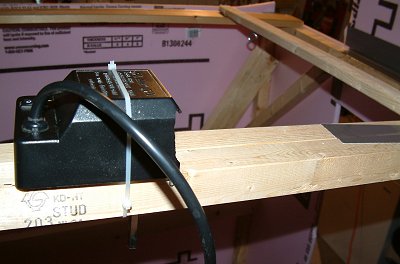
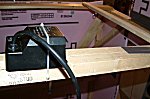
Here
is our motor assembly. This is a simple electric
rotisserie motor that got drafted into service after
getting sniped off eBay. This makes the 2nd
rotisserie motor we've used to animate a crank
ghost. Last year's motor is still working. AllElectronics
stocks a $12.00 6RPM 12VDC motor that would probably do
a great job. When we run out of rotisserie motors,
we'll probably buy some. |
|
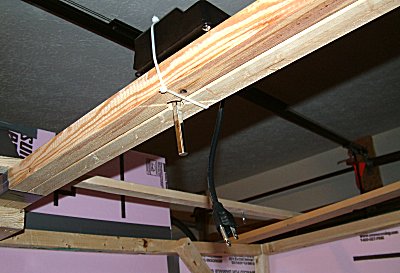
We
drilled a 3/4" hole for the motor shaft and
zip-tied it to our center support beam. A metal
plate on the bottom of the motor box (not visible)
sports handy screw holes that we used to mount the whole
thing snugly to the support beam. |
|
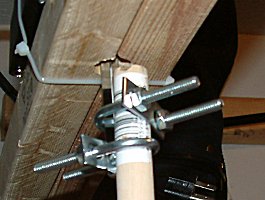
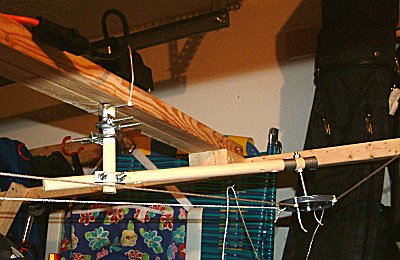
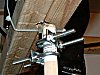
There
are many ways to attach the crank arm to the motor
shaft. Some folks like the idea of it all being
one piece of metal. Not being a smithy or
otherwise versed in the metallurgical arts, we attached
a dowel rod to the shaft with "U"
clamps. We then drilled holes through a second
dowel and attached it at 90º to the vertical. |
 |

|
|
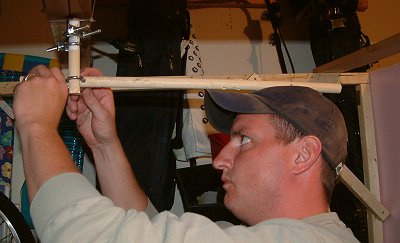
This
was brother Joe's idea and is a proven design. (To
prevent bumps on the head, it's a good idea to be
supportive when he's seen carrying around lengths of
dowel rod.) |

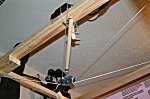 |
A
paint can lid makes a great doohickey that attaches to
the end of the crank arm. The rest is standard FCG
pulleys, string, and counter-weight. If you're
looking for something that approaches being a more
helpful description of how to actually build a flying
crank ghost, try
here.
Continue |