If you need a quick-and-dirty torso in a couple of hours, then the chicken wire method is for you. If you're interested in a more in-depth project, then skip ahead to Method 2.
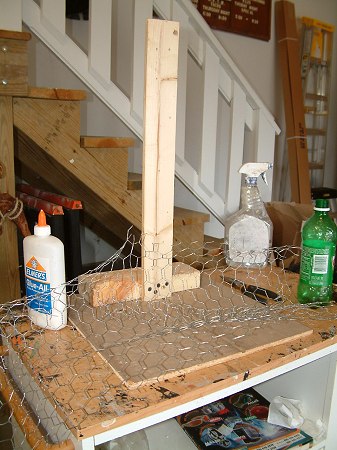
Attach your armature (upright piece of wood) to your base (a piece of plywood or a couple of scraps nailed together). The base should have a little weight to it so your corpse doesn't end up being top heavy. That's just humiliating.
Decide how much of the torso you want to show above ground. In our example, we opted for a full-torso (about 20"). You might try angling your upright if you don't want your corpse to be sitting at attention. I didn't think of this until too late, but you have the benefit of my mistakes. However, if you want your corpse to look like he was startled out of the grave, then that's okay, too.
|
|
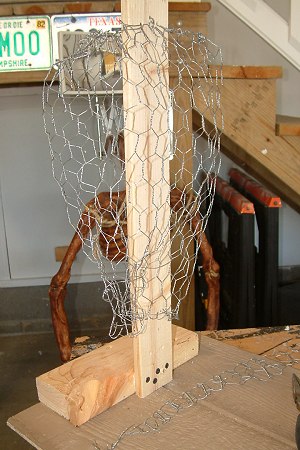
| Now is when you put on those leather gloves your wife makes you wear when you're making Pop Tarts. Cut a length of chicken wire (about 4' or so) from your roll and form it around the upright. Use wire, staples, duct tape ... whatever ... to firmly attach the chicken wire form to the upright. Leave 4"-5" at the top of the upright to attach your foam head. You can really mash the chicken wire, so don't be afraid to make your corpse look really fat, hump-backed, or spindly. Fill out the shoulders with wads or rolls of newspaper wrapped in duct tape. |
|

|
Unwind a wire coat hanger. Measure the length of your upper arm and forearm, and cut to those lengths. Extend the lower (forearm) two or three inches. This is where we'll attach the hands.
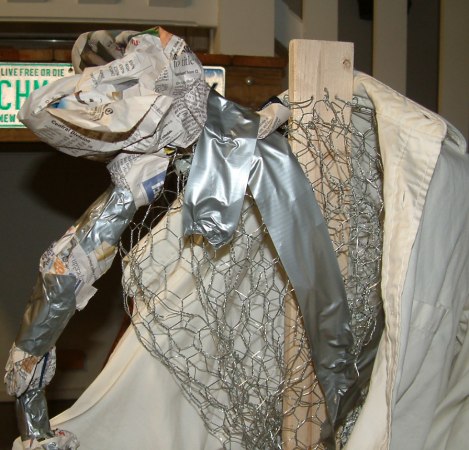
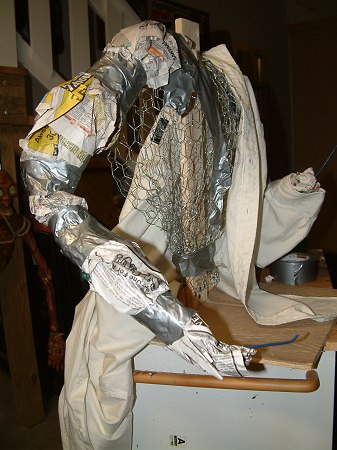
Using wire, extra coat hanger, or scrap chicken wire, attach the upper arms to the shoulders. Use the same method to attach the forearms at the elbows. Wrap with lots of newspaper and duct tape. Fill out the arms or make them thin. The more you fill, the less your corpse will look like a shirt draped over a wad of chicken wire.
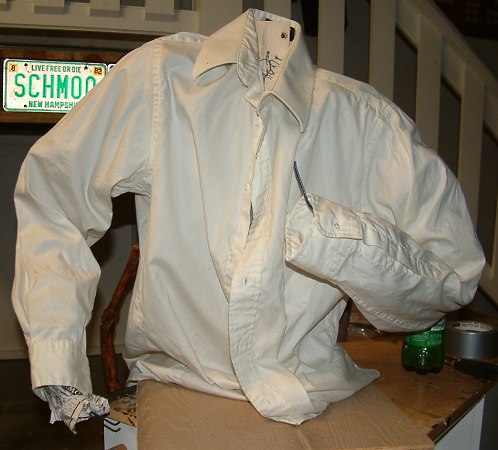
Dress your corpse. If the arms and shoulders aren't filled out enough, peel back the shirt and use more newspaper. If there is just too much material (Am I this big?), pull it from the back and tack off the excess. If you're not very handy with a needle and thread, just bunch up the excess and tie it off with string. Then roll or fold it together. Do all this on the back of your torso to hide your awful needlework.
|

|
|
|
|
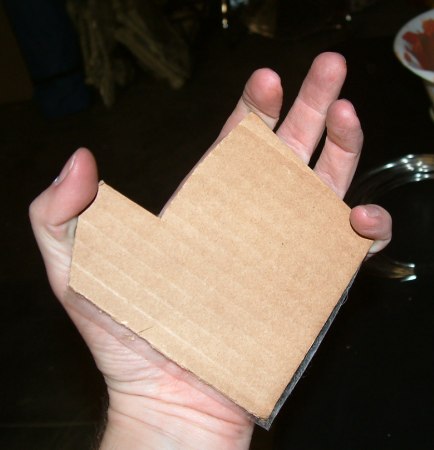
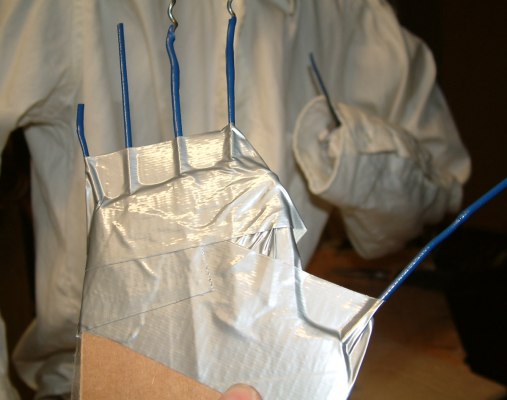
Using a bit of cardboard (I know I didn't include this in the materials list. Geez, as much stuff as you buy off eBay, and you don't have a cardboard box lying around?), cut out a piece that is roughly the size of your hand. Cut so that the corrugation (little ridges) are perpindicular to the direction of your fingers.
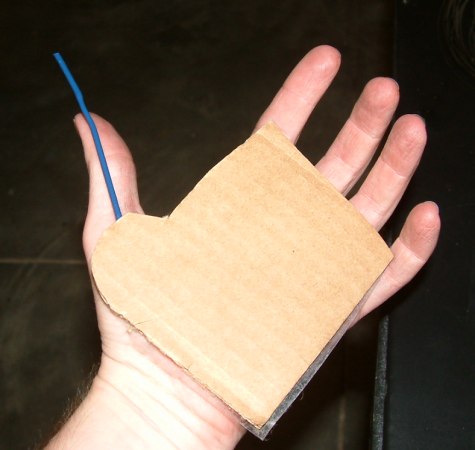
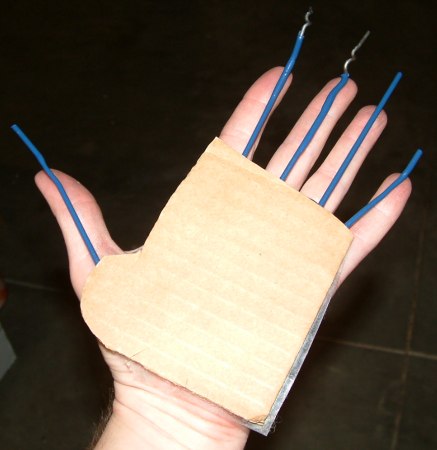
Using wire cutters, cut fingers from wire coat hanger (don't get that mixed up). Make them an inch or two longer than they really should be and insert them into the cardboard "palm". They should go through several of the corrugation ridges. This will add strength.
|
|
|
Wrap duct tape around the palm and form "webbing" between the fingers. This will also help to keep them from slipping out of the palm. Next, use newspaper and duct tape, or just plain duct tape to make fingers.
Warp the palm as if it were cupping something (cough cough), stuff a wad of newspaper in the void and cover with duct tape. This will help things look more natural. Otherwise your corpse might look like he's got a terminal case of "jazz hands".
Shove the palm onto the bit of coat hanger you left on the end of the arm and use duct tape to attach it to the arm.
|
|
|
|
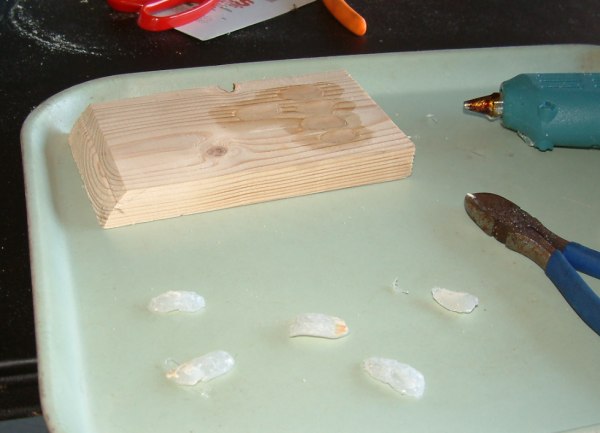
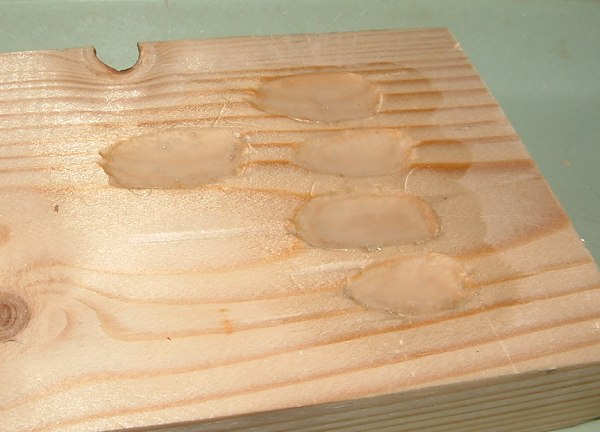
Fellow haunter and corpse specialist Gary Adams let me in on this neat trick. You can make fingernails and teeth using hot glue.
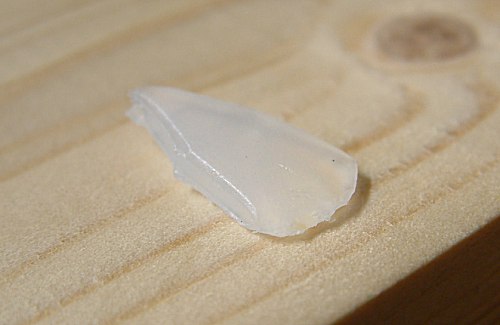
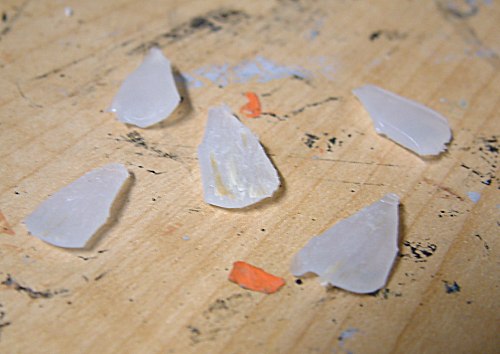
Using a Dremel or other wood working tools, gouge out some fingernail-shaped holes in a scrap of wood. Smear some petroleum jelly in the holes and fill with hot glue. When the glue has cooled (and not before unless you're still wearing your Pop Tart making gloves), peel them out. Neat! Use a dab of hot glue to attach to your fingers (your corpse's fingers, nimrod).
|
|
|
|
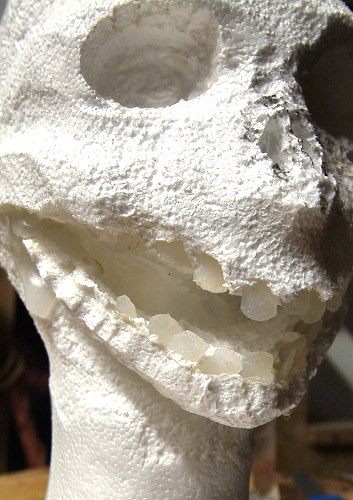
Ah, the foam wig head. What flying crank ghost is complete without one? They're almost pretty, aren't they? Well, we'll fix that right up.
Cut away those pretty cheek bones, that perky nose, and other excess foam using a Dremel, sand paper, or wood burner I ruined a soldering iron on this, so keep that in mind before you destroy your favorite soldering iron. You can attempt to cut out a mouth, but I just whacked the whole jaw off, shaped it (poorly) to look more skeletal, and re-attached it with hot glue.
Drag the side of your iron along the face to shape and smooth the foam. The soldering iron worked well for melting eye sockets, too. Just remember that this iron is toast if you plan on trying to use it for soldering anything in the future. Of course, a new tip isn't that expensive.
|
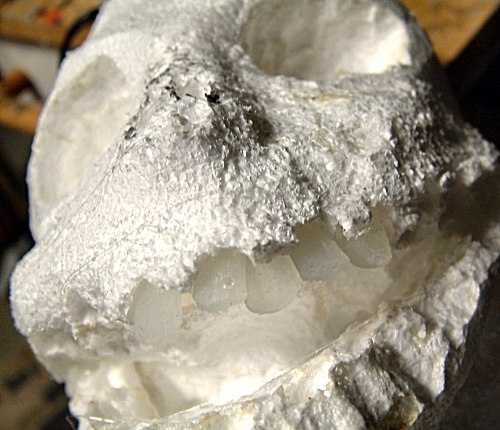
Make a few extra fingernails using your hot glue fingernail molds. Now, clip them with wirecutters to form teeth. Basically just nip along the sides to form a point on one end. You can also drill out little fiddly-bits to resemble tooth decay. In the upper and lower jaw, melt tooth holes with your iron. Squeeze out a small gob of hot glue in the hole, and insert the tooth.
|
|
|
Gouge 3-4 inches out of the center of the neck and dry-fit by sliding it down over the top of the upright. Trim off the excess foam around the base of the neck so it doesn't look like your corpse swallowed a frozen hotdog. Make any necessary adjustments to the neck cavity. Then pull it back off, squeeze a good amount of hot glue into the neck cavity, and place it back on the upright. You'll probably need to hold it in place for a few minutes until the glue sets up.
|
|
|
|
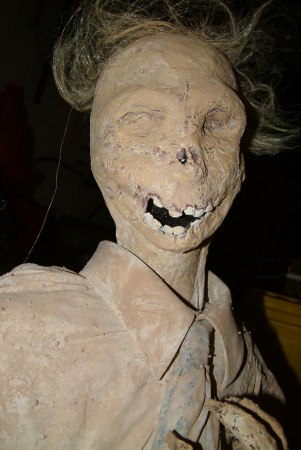
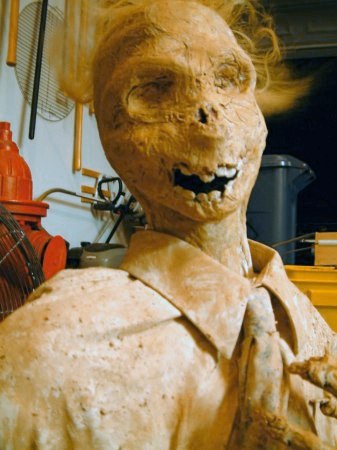
Corpse the head and hands using standard corpsing methods, and paint your corpse to look gross. I like to water down my paint and dry-brush or sponge it on. Start with a dark color, then go back with something lighter.
Here's a good one to try. Spooky Glue! Pour about 2 cups of Elmer's glue into a bucket, then mix in a handful of dirt and about 1/2 cup of latex paint. Coat the entire body, clothes included. Work it into the material with your hands. When the glue sets up, the clothes get nice and stiff.
This is a lot lighter than monster mud, and the result is a stiff shell. The tradeoff is that this won't be nearly as weatherproof as a monster mud creature. That's what sealer is for.
Oh ... Walter's hair came from an old wig. Cut lengths of 10-20 strands at a time and hot glue them to his scalp. I liked the wispy look, but you could go for more of a bouffant style if you like. |
I used acryllic floor sealer, but I suspect anything that will soak into porous material and repel water will work just as well. Use a paintbrush, or pour into a spray bottle and mist it on. This makes application much easier. However, sealer wasn't intended to be sprayed in such a manner, so take precautions. Any time you introduce chemicals in small droplets with air, there is a real chance of combustion (depending on the chemical), not to mention the added risk of inhalation. Do not breathe the mist. Work outdoors. Keep all flames away from your application area. Wear protective clothing, and keep the pets and kiddies away. We didn't have any problems, but we followed the above precautions. This is a great timesaver, but if you're the type who would check a water heater's pilot light with a match, then put down the chemicals and step away.
|
|
|
|