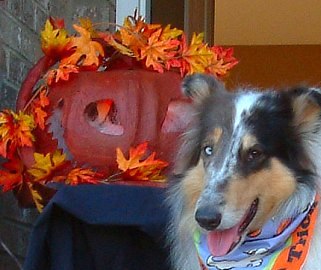
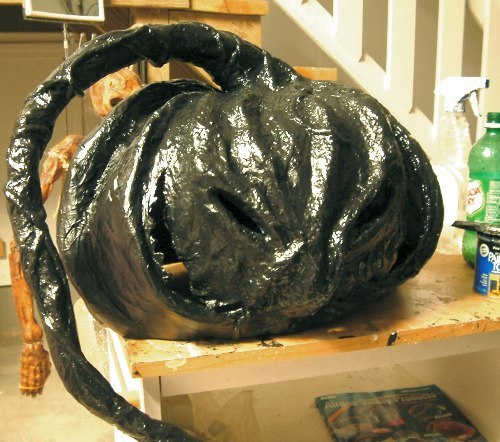
Bruno's head started off as a plastic cauldron and evolved into a somewhat bland paper mache jackolantern that sat atop the stairs of dread last year.
I almost pitched this uninspiring JOL, but I'm glad I didn't because this far-from-scary pumpkin continued to evolve into something really horrible. And all it took was a little more newspaper, duct tape, and some carpet latex.
|
|
| It didn't take a tremendous amount of reworking to turn our happy, friendly JOL into the menacing monster of our fondest nightmares. By the way, click the pix to zoom in. |
|
|
|
|
|
|

|
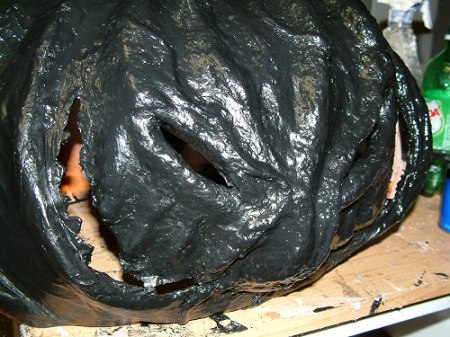
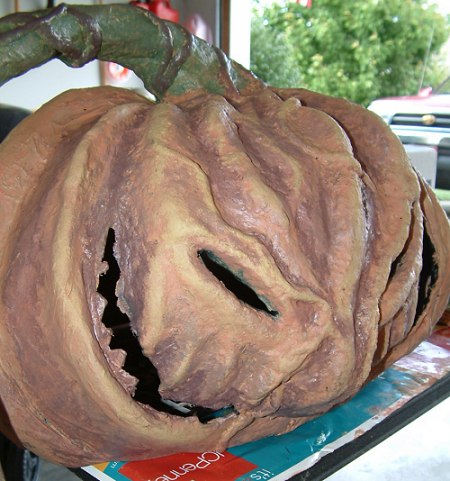
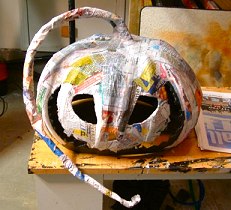
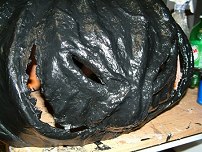
First we'll start with the obvious. Cut your mouth and eyes using your choice of Dremel tool or a sharp knife. As you can see from the above pictures, doe-eyed jackolantern simply isn't a good look for a sinister scarecrow.
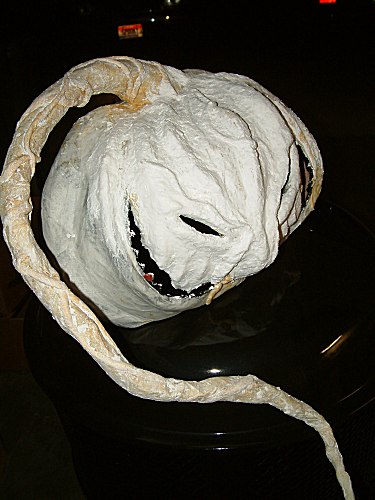
We narrowed the eyes with layers of newspaper and duct tape. We also added more thickness to the stalk by wrapping it in chicken wire, and then wrapping that with duct tape. The chicken wire added support to the shape of the stalk so that it wouldn't collapse under its own weight. The new beefier stalk was in danger of ripping itself out of the top of the head, so we drilled four holes into the plastic and looped stout wire through them. We threaded the wire through the chicken wire and wrapped the ends inside the head. This afforded much better support and a nice handle for carrying the head around.
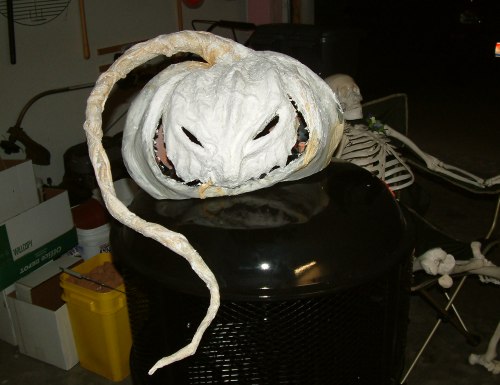
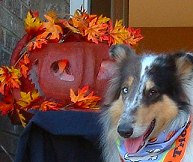
One of our skeletons (uncle Albert) watched the entire process, but really had nothing of value to add to the project.
|
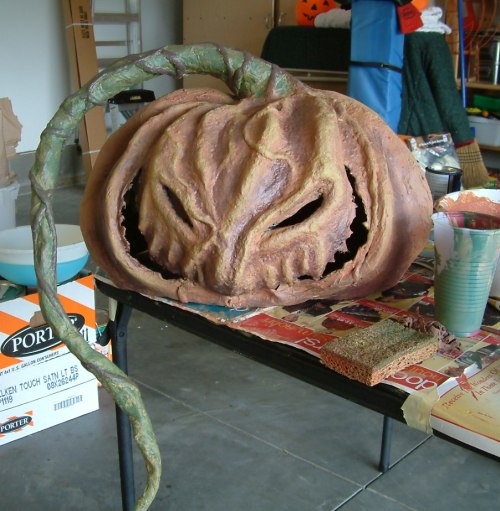
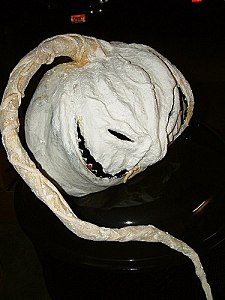
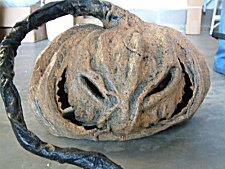
| The next step was the most fun; building up the eye ridges and other "pumpkiny" features using newspaper and carpet latex. We started off by rolling up newspaper and taping it in the appropriate places, then we smeared adhesive onto newspaper strips and applied them in layers. Carpet latex dries faster than your typical paper mache glue, so the entire head was finished and ready for paint in about a day. |
|
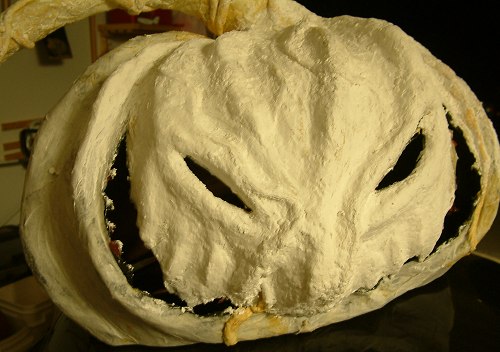
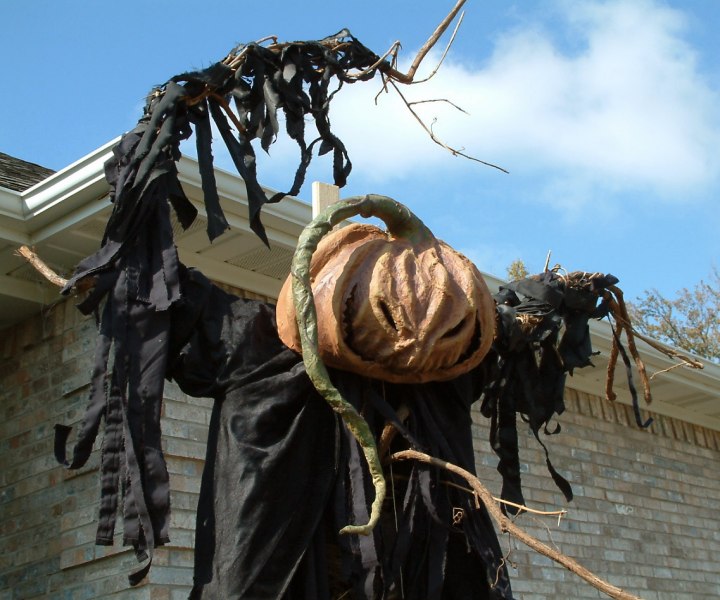
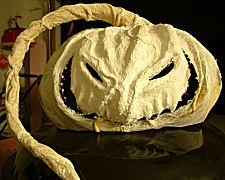
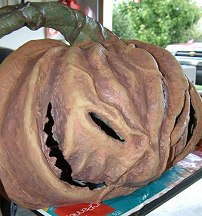
We added lots of "veins", or I guess you could call them vines. Anyway, they looked gross, so we really liked them.
The veins are paper towel rolled into long cords with a good amount of adhesive. Just lay them wherever they look nice and yucky. We then added a finishing layer of paper towel and adhesive using standard corpsing procedures.
The final layer gave a nice texture to the skin. The teeth we pretty much just left alone. Probably a good thing, too. Scarecrows have a hair trigger ... sort of like a Venus fly trap.
|
   |
|
|
|
If you haven't already made friends with the manager at your local Porter Paint or Sherwin Williams store, you really should. At any given time these folks can be found up to their armpits in mismatched paint that they'll be more than happy to unload on you (sucker) for cheap.
If you're nice, they might even add some tint to that "brisk autumn dusk " (beige) that some lady brought back to exchange for "peach petal number 7" (beige) so you end up with a nice brown. In any case, $2.00/gallon for premium outdoor latex paint is a good deal. I've told my wife that a hundred times, anyway. We have enough paint now to coat the entire SpookyBlue household in "brisk autumn dark".
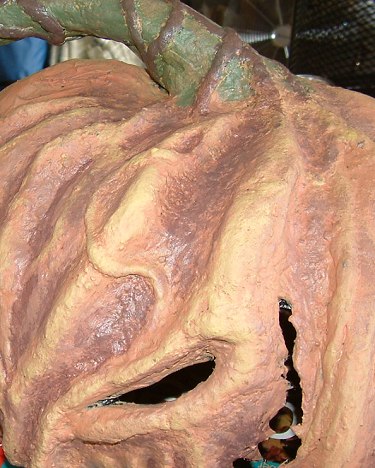
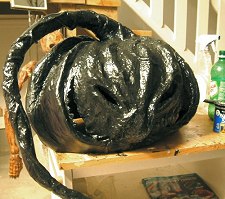
We put down a base coat of flat black latex to start things off, then went with a pallette of browns, orange, and tan (peach petal number 7) for the detail work.
|
|
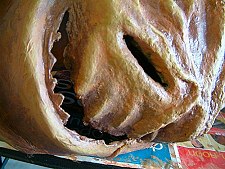
I like to start with dark colors and work up to the lighter colors depending on the topography of the area I'm painting. As it turns out, I really didn't need to put the base coat of black on there since none of it ended up showing through to the end, but I figure another coat of paint just adds a little more protection to the corpsed paper towel underneath.
The highest areas like the tops of the eye ridges, and that toothy area above the mouth area highlighted with the lighter colored paint. I used paper towels, brushes, and a sponge to dab the paint instead of trying to brush it on in one coat. If you're well versed in airbrushing, you'll find this to be a rewarding experience. If you're like me and don't like spraying yourself in the face every few minutes, brush on a little paint, then spread it around with a sponge or paper towel. Just work in layers until the overall effect is what you were looking for. |
|

|
|
If you don't like the direction your paint job is headed, don't sweat it. Just go back with a neutral color and start over. I find it's less distracting to start off with a blank canvas instead of trying to fix a botched job. But there's really no such thing when it comes to paint. Wipe it off or wait for it to dry, and try try again.
Page 3 - Lighting
|
|
|
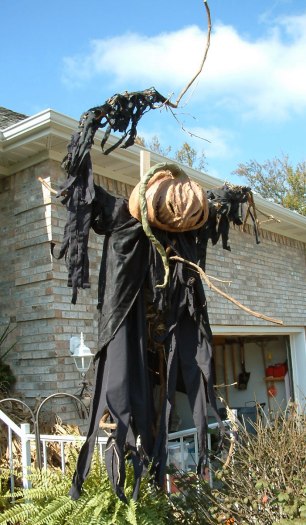
 The Scarecrow (Terror on a stick)