| Sage
Advice
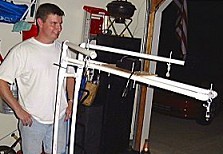
Measure
your crank arm before you attach it to the motor
shaft to make sure it won't hit your support
structure. We did that.
Also
(and this is important) make sure your arm is
shorter than the distance between the motor and
the pulley that supports the head of the
marionette.
It's
vital to the well-being of
your ghost that the crank
arm not touch any of the pulleys
during operation.
Trust
us on this one. |
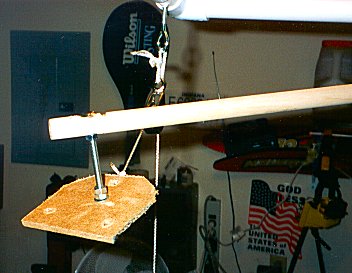
A
large metal plate turned out to be a better
solution than this particle board after it
contributed to the
unfortunate FGCide upon it's first test run. |
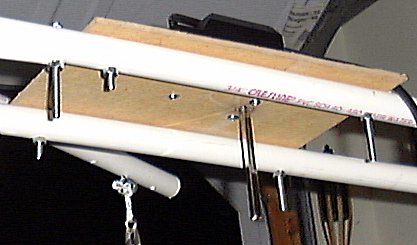
Some
ingenious engineering by my brother married a 3'
long wooden dowel to our metal rotisserie shaft
at 90°.
Rumor has it that he was heard to mutter something about this
wedding being only slightly less painful than his own. This rumor is
unequivocally NOT true.*
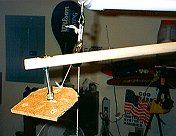
We
used some particle board for the first version
of the...doohickey that hangs from the crank arm
to which the strings are attached. |